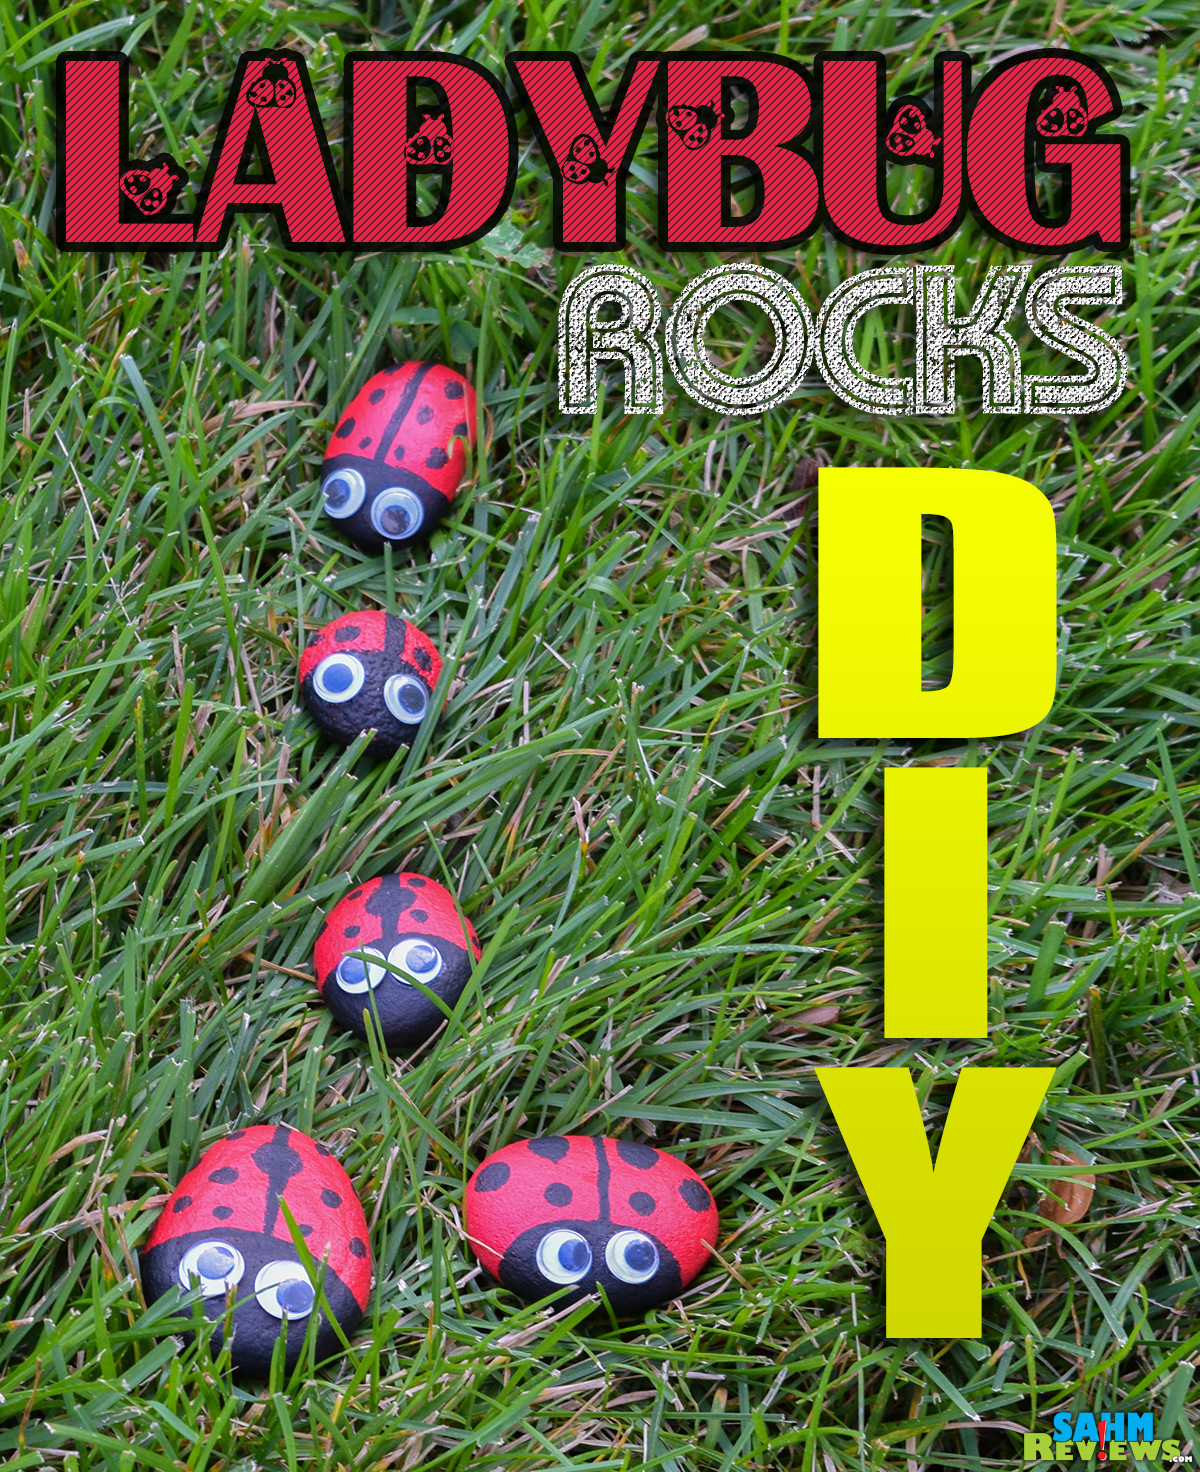
DIY Pet Rock Ladybugs Craft Tutorial

Our kids are bright and adventurous, but for some reason they have been spending more time than we like on their electronics. Yes, they’ve been out for almost daily bike rides and playing board games, but if they aren’t engaged in those things, they’re digitally attached. Even when they are hanging out with the new neighbors, they each have cell phones in their hands.
Thankfully, Scott is creative. Using rocks from the yard, leftover paint from a home project and a package of googly eyes, he put together a cool craft project for the kids. The other day we stopped by the store to pick up some new paint brushes but other than that we had everything we needed to create a swarm of pet ladybugs. The best part is that the kids were able to do almost everything themselves.
DIY Pet Rock Ladybugs
If you are as in love with these little bugs as we are, creating them is very simple. Here’s the list of items you’ll need for the project. If you have more than one person making these, be sure to get extra paint brushes so everyone has their own and can work on the project simultaneously.
- rocks
- paint brushes – regular as well as fine tip
- black and red paint
- googly eyes, variety pack (Self-adhesive. If not self-adhesive, you’ll want super glue and surgical clamps.)
- condiment cups
- cardboard or small box
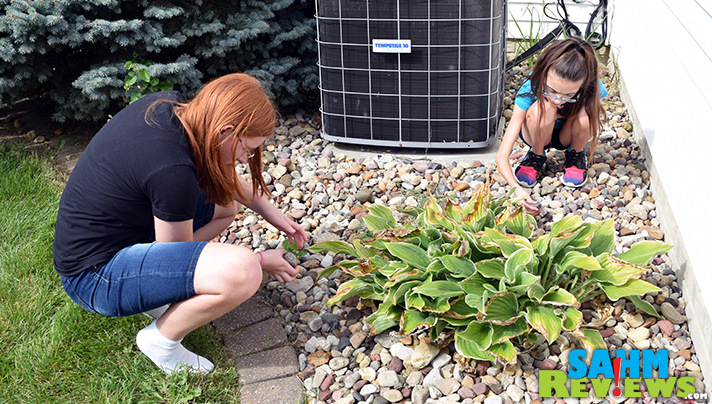
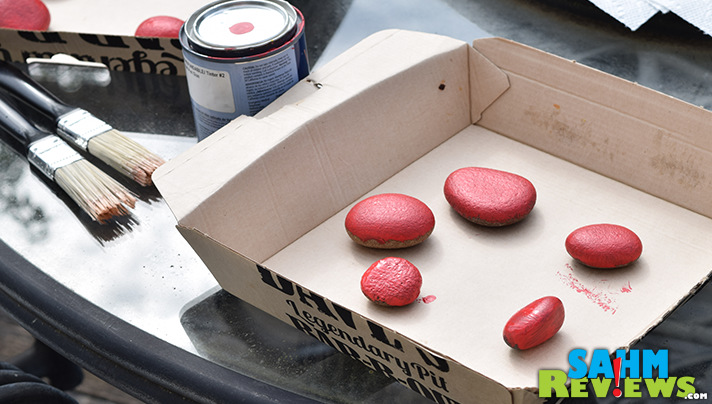
The first thing you’ll need are the rocks. You can find these in your yard or at the park. You’ll want to look for ones that are round, thin and symmetrical with as few defects (chips/cracks) as possible. Take them home then wash and dry them.
Now the fun begins. Place your cardboard or small box on the table, preferably on an outdoor or craft table. This is for catching the drips while also making it easy to move them around. We opted for some cardboard boxes from restaurant leftovers. (Mmmm… leftover barbecue…)
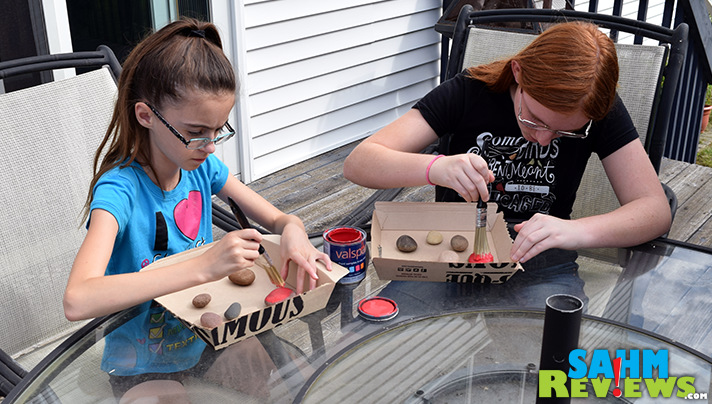
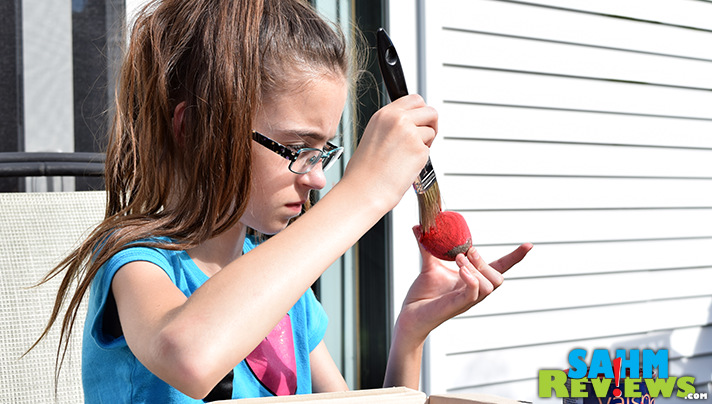
Using a regular paint brush and red paint, evenly distribute paint across the top half of each rock, making sure to get the sides as well. If it doesn’t look perfect, don’t worry, there will be an opportunity to touch it up later.
Set the half-painted rocks aside and wash the paint brushes while the rocks are drying in the sun. It won’t take long for this step so don’t go too far. By the time you’re done washing out the brushes, you’ll almost be ready to start painting the bottom half of the rock. When the rocks are dry enough to pick up, repeat the process of painting half the rock then cleaning the brushes.
When the rocks are dry again, inspect them for quality. If you don’t like how the red looks, add another coat to the top while touching up the spots that were missed. Adding another coat to the bottom of the rock isn’t important since it will be, you know, on the bottom. While you are allowing the last of the red paint to dry, thoroughly clean the paint brushes as you won’t be using them again. You’re done with the red paint and can put it away.

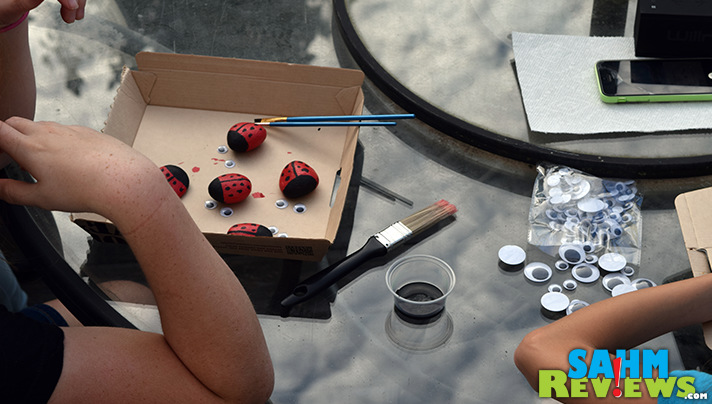
Next you’re ready for the black paint. We found black paint in some of the kids craft kits and opted to use that rather than buy more. We poured some into condiment cups to make dipping and controlling the amount on the brushes easier. Using a fine brush, draw a curved line to indicate where you want the head to be. There isn’t a right or wrong answer because each ladybug will be different. Fill in the area on the top and bottom to cover the red where the head will be. When you are done, you can always add more black to increase the head size. If you are working on multiple ladybugs (why not, right?) then the first ones should be done by the time you complete the head on the last one. Now it’s time for details!

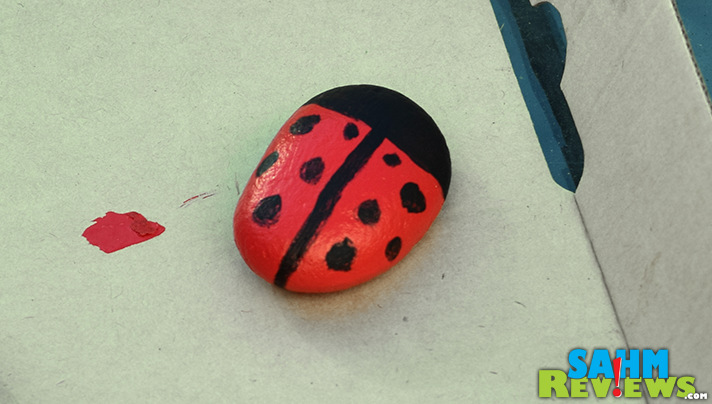
Using the fine brush still, draw a line from the head down the back. Symmetrically on each side of the line, add spots. When you’re done with that, clean the brushes and put the paints away.
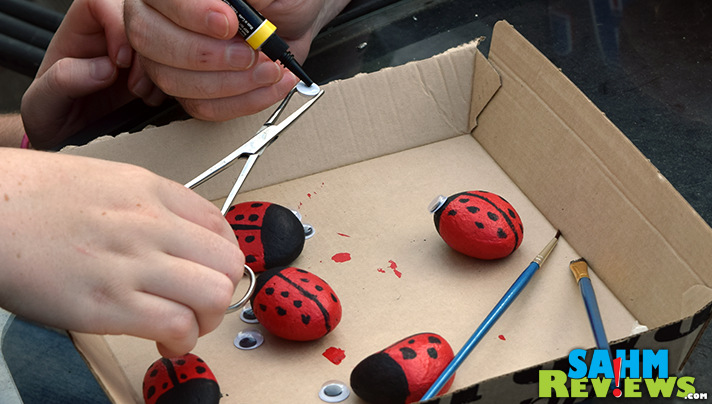
By now, they should be starting to look like ladybugs. But they’re missing one final detail that will pull it all together. The googly eyes. If you are using self-adhesive eyes, you’ll just need to remove the paper backing and apply the eyes where you think they look best. If you are using Superglue, we recommend using some type of clamp to hold the eyes while the glue is applied. This project wouldn’t be much fun if someone ended up with fingers stuck together. The size of the eyes will vary based on the size of the rock as well as how you painted the head.
You now have an entire swarm of ladybugs ready to place around the house, in the garden or to give as gifts. We painted these a week ago and placed them on the landscape in the front yard. Every time I walk outside to get the mail, to talk to a neighbor or just coming and going, I smile at how adorable these little creatures are. The process made the kids happy and kept them occupied with something creative while the after-effect has brought an unexpected joy. We liked it so much, this past weekend we went hunting for new rocks to add to our ladybug swarm.
What types of crafts make you smile when you see them afterwards?


These are super cute and would be fun to do with the grand kids.
These are adorable. I’m putting this in my favorites so I can come back to it when I have the supplies.
Great craft idea to get the imagination flowing!
Love these! So cute!
I love your rock ladybugs!! My daughter will have a blast making these! These will be cute additions to our garden.
Those are so cute! They are a major step up from the original pet rock which as… well, it was just a rock. They didn’t even make it look like anything.
This is such a cute project! I like how organized and focused they are while they make these beautiful Ladybugs! Incredible how they transformed a regular rock into a masterpiece!!
What a cute way to decorate your garden and I know my kids would love to make them. I love how easy this is to add a personal touch outside!
That is so cute! I absolutely love lady bugs. What a fun craft.
Great idea! The kids will love these, though it won’t help to keep them from playing with our ricks any less.
These are so cute!! I need to have my kids make some for my rock garden
Super cute, I’ll have to make some with the boys
such a cool project
These ladybug rocks are so cute. I like any crafts for kids, including Halloween, Christmas, Valentine’s Day and Easter crafts. We used to make ornaments to hang on the Christmas tree out of construction paper, cotton balls, glitter and buttons. You can make Santa, snowmen or snowflakes. Lace doilies make great snowflakes with an easy outline on the doily to cut out for snowflakes. For the other holidays, all you need are the following: colored construction paper, scissors, glue, tape, pipe cleaners, colored toothpicks, cotton balls (white and pastel colors), paint, clothes pin, tissue paper, bobby pins and even a small sewing kit depending on how elaborate you want your crafts to be. I used to love to punch a small pinhole in an egg and drain out the egg, then decorate the fragile shell to make some beautiful Easter decorations. My kids are grown, but I am praying for some grandchildren so I can make crafts with them.
My kids love making these! It’s so fun and cheap!
Super cute! Love upcycling things into cute little craft projects
Love this! How cute. We used green and purple paint and made frogs and toads at our house!
😛
A craft that makes me smile is making spiders out of eggshell cartons! My son and I had a blast making those, and these ladybugs seem easier!
Wow………..how amazing these are!!!!
#adorable recognition n.understanding, knowledge, praise
22 gratitude n.thanks, gratefulness, thankfulness
21 regard n.commendation, esteem, approval
20 understanding n.grasp, sympathy, knowledge
18 admiration n.commendation, acclaim, praise
18 taste n.affection, judgment, discrimination
17 esteem n.approval, approbation, honor
16 perception n.knowledge, understanding, ability
15 awareness n.grasp, brains, understanding
15 comprehension n.understanding, knowledge, impression
15 respect n.honor, esteem, affection
14 estimation n.belief, approbation, respect
14 thankfulness n.gratitude, gratefulness, recognition
14 affection n.love, respect, account
14 enjoyment n.delight, affection, recognition
14 liking n.esteem, affection, admiration
14 sensitivity n.love, enjoyment, recognition
13 relish n.love, delight, affection
12 approval n.praise, commendation, esteem
12 knowledge n.grasp, understanding, recognition……
These are synonyms which I could just think of!
Best of Sahmreviews
#Thanks
Sweet! Love to make w/ my grandchildren ,they would love!
These are so cute. Make something with dogs!
This is so cute! You can customize it to make a bunch of different animals!
This would be such a fun project to do with my daughter.
I LOVE PET ROCK THEY MAKE ME SMILE ALSO I LOVE MAKING ANY CRAFTS WITH MY KIDS THAT MAKES ME SMILE
My daughter’s favorite garden bug!
Aw these are absolutely adorable! My father has an obsession with turtle decorations all over the yard! This would be a great idea to take rocks and have my kids design them as turtles for him! Thanks for the great idea! I Love this!
Pet rocks are so cute! We like to do thumbprint painting!
Very cool! I love simply crafts that I can change up each time I do it. I also like to sometimes do projects that I could potentially sell 🙂
These are adorable!! Just love them! ^-^
These are so cute. The craft that makes me smile are homemade cards. Thanks!
This would be a great craft to do with the Grandkids.
My daughter LOVES making these. We have quite a few in our garden already. So easy to make and so much fun!
I love this idea of painting rocks! I’m going to do this.
My favorite crafts are the ones my daughter’s made in school, especially the Christmas tree ornaments. They always make me smile when putting them on the tree.
Any craft done by or with my kids makes me smile. Can’t wait to try this!
I think me and my son would love to do these
How cute! These look fun to do 🙂
This looks like such a great and interesting project. I cannot wait to share this with my niece.
I am going to try this
This craft looks very cute. Thanks for sharing!
These DIY ladybugs are adorable!! I just had to pin this and share it on Facebook and Twitter. I want my grandkids to be able to do this at their homes. Thank you for this fun activity! These homemade lady bugs can be shown off in the whatnot cabinet.