Tips for Restoring Your Board Games
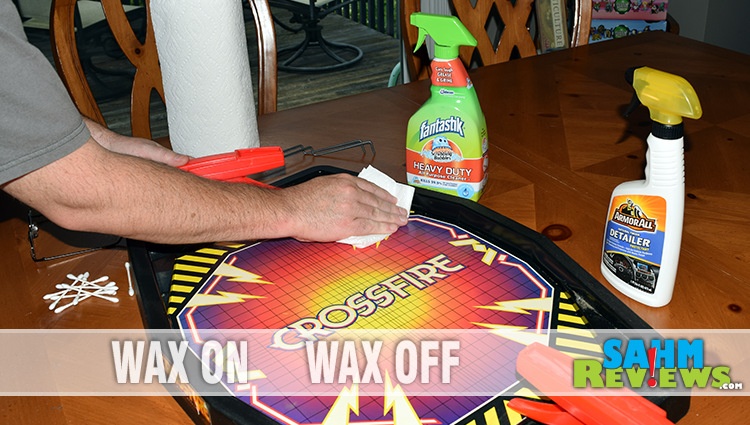
For over two years we have been bringing you a game every Sunday which we have found at a local thrift shop. We’re usually pretty picky about the games we purchase, even when they’re only a buck or two. Some have been well-played while others completely destroyed or missing pieces. The ones we decide to buy typically have been played very little, if at all.
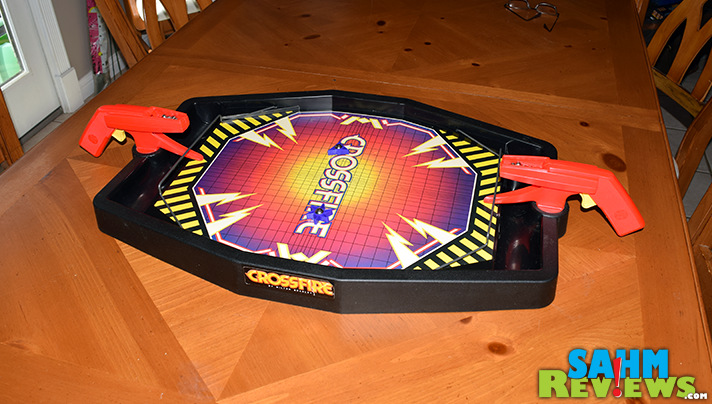
Yesterday’s Thrift Treasure featured a childhood favorite of mine, Crossfire. We broke our normal rules and bought this copy without the rules or original box, and it was quite dirty. It had obviously been played, but well-taken care of as there didn’t seem to be any missing pieces and no unusual wear on the play surface. But it was obviously that LOTS of dirty hands had taken their turns before sitting for a long time collecting dust. As is typical before we feature a used game, we took the time to clean it up a bit before playing. It dawned on me that over the years we’ve come up with a couple useful techniques to pass along to those of you who wish to safely clean and restore your old games to like-new condition!
Cleaning Plastic
In general you’ll find two types of plastic surfaces used in games. One is a high-gloss smooth surface that needs nothing more than a good wipe-down with any household countertop cleaner. Spray it on your cloth or paper towel and wipe away the grime.
You might also find a textured plastic surface, and this will be cleaned in the same manner. Just use caution if using a paper towel or something that easily shreds when it gets wet. Getting scraps of towel out of the plastic finish is a job in itself, so best to avoid it altogether and use a cotton rag.
Restoring Plastic
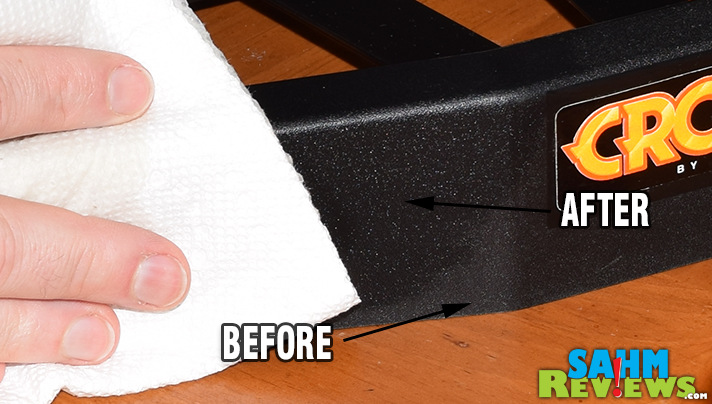
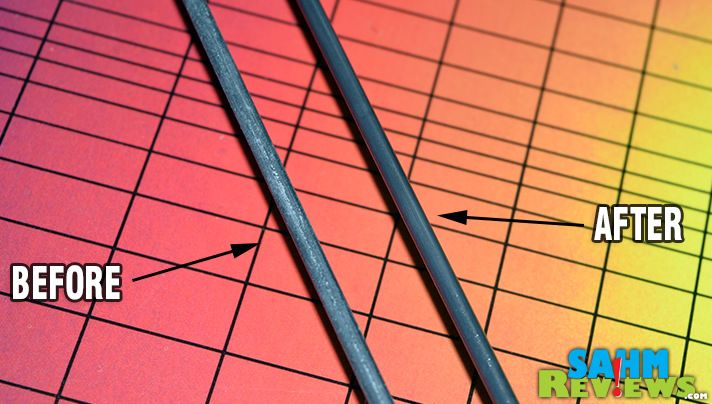
Once you have removed all of the years of dirt and grime from the plastic surfaces, we have a little trick you can easily apply to faded colors. Grab some liquid car wax or interior detailer from the garage and apply it to the plastic just as if you were detailing the inside of your car. It may sound silly to use an automotive product on a board game, but as you can see from the photos, the results are well worth the efforts.
Cleaning Metal
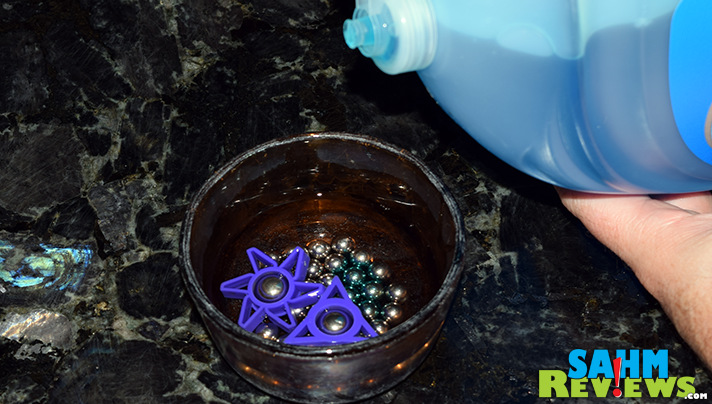
Most metals you’ll want to clean simply with dish soap and water. Stainless steel is the easiest, but don’t hesitate trying other alloys in this simple solution. Of course, always dry it off immediately and thoroughly to prevent the possibility of rust.
Restoring Metal
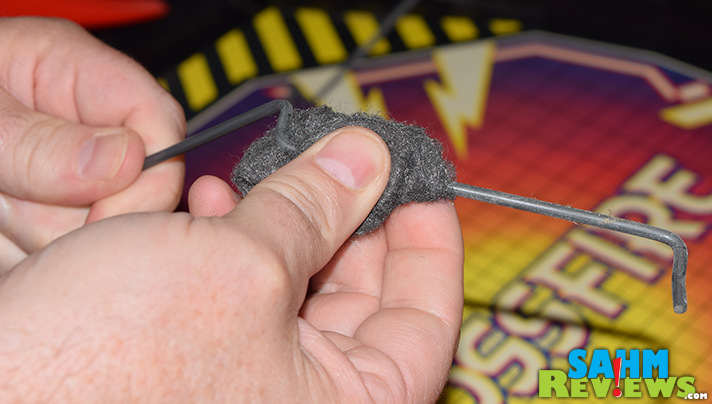
If your pieces show signs of rusting or there is too much dirt and grime built up, tackle it with some #0000 steel wool pads. I always have some in the garage for polishing chrome on older cars and it works wonders on bare or painted metals.
Cleaning Paper Decals
Here’s one area where any liquid is a no-no. You don’t want to ruin the paper nor its adhesive backing. Best just to wipe down with a dry cloth. If necessary (and on coated paper), you might try a slightly-damp paper towel to get difficult stains off, but start with as little as possible. Last thing you want to do is have to try to recreate those labels at your local copy center.
Restoring Paper Decals
Short of recreating and replacing, your best best is to leave them as-is. If corners have started peeling away, try a drop of adhesive glue on the end of a toothpick to get behind the label. Be sure to wipe away any overspill before it dries on the surface. Most of the time we also choose to leave them as-is.
Other Components
The most common damage we see are folds and creases. Think of the cards in the game of Monopoly. You can fix these almost perfectly by ironing out the lines with a standard iron on its lowest setting. If you’re missing pieces, be sure to take a look on eBay where you’ll find hundreds of sellers offering replacement parts from the exact version of the game you have!
Detail Work
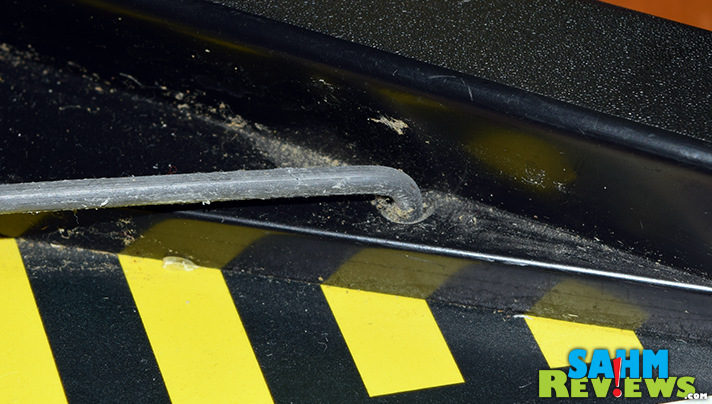
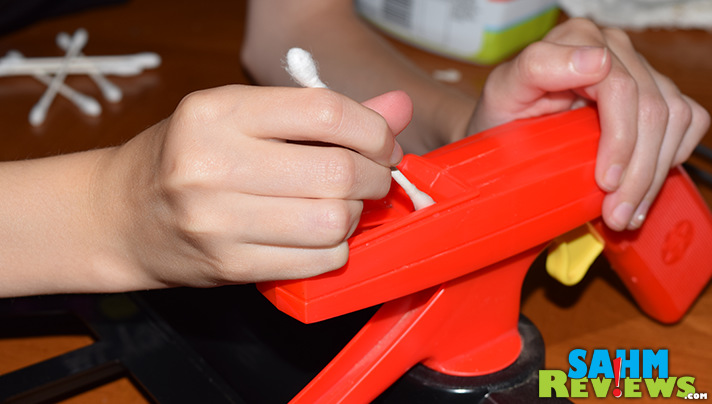
There no doubt will be areas that you can’t get to with a rag or paper towel. Be sure to have cotton swaps, toothpicks and tweezers on hand to get into those cracks and crevices. I chose to recruit our tiny 11yr old and her small hands to do this detail work. Her thin fingers made quick work of these plastic guns from Crossfire!
Beyond the scope of this article is cleaning battery compartments, fixing electronic connections and creating replacement parts with polymer clay or a 3-D printer! All which we’ve done before in an effort to bring these classic games back to the format we remember.
Which game is in your closet waiting to be restored?



That is a pretty good idea! Thanks for the tips.
Thanks for the tips!
These are great tips I have several faves that need a little TLC!
I need to restore a couple of my board games. They haven’t been played forever because they needed a little tlc.
We do have a lot of older board games sitting in the closet. I know at least a few of them could stand a good cleaning.
Great info. It is always nice to pull out an old game, get it looking great, and start playing it a bunch again.
Usefull.
Here is a trick for removing tape off thrift store games.. Pick up a cheap blow dryer and give the tape a good heating as you slowly pull it off. It heats up the glue and helps prevent box damage.
So could have used this today. The tape was so old though, don’t know if it would have helped this one!
Crossfire! Such a cool game…I remember wanting this so bad. When are you doing a giveaway for Crossfire? We had a thrift find a while ago that had all of it pieces, but they were super gross (Nowhere to Go). We put all the small pieces in a mesh bag and threw it in the dishwasher. They came out brand steaming new without the irk of detailing! The pieces were plastic; I would hesitate throwing wood pieces in. Thanks for all the tips!
Great tips! I remember crossfire… it was a fun game 🙂
Thanks for these useful tips.
I get lots of games from our thrift store but I’ve never even thought about restoring them! I’ll have to give it a whirl with my latest find: Masterpiece (it’s only logical).
Never thought of trying to restore board games. I’ll have to give this a try.
Any tips for a warped game board? I have a double set of Hero Quest. But both boards are badly warped and need to be very flat to play on.
About the only real solution I’ve found that works without damaging the board is gravity. It’ll take some time, but allow the board to sit elevated so the center is higher and eventually gravity will do the job.
Some boards are warped due to moisture, and putting one of those silica packs in the box might help also.